Tips and Tricks – Quickly Map Channels To Meters
With the latest updates in the 1.2.1 release of the Post Production Metering Suite, it is even easier to create meters and map the channels to audio inputs.
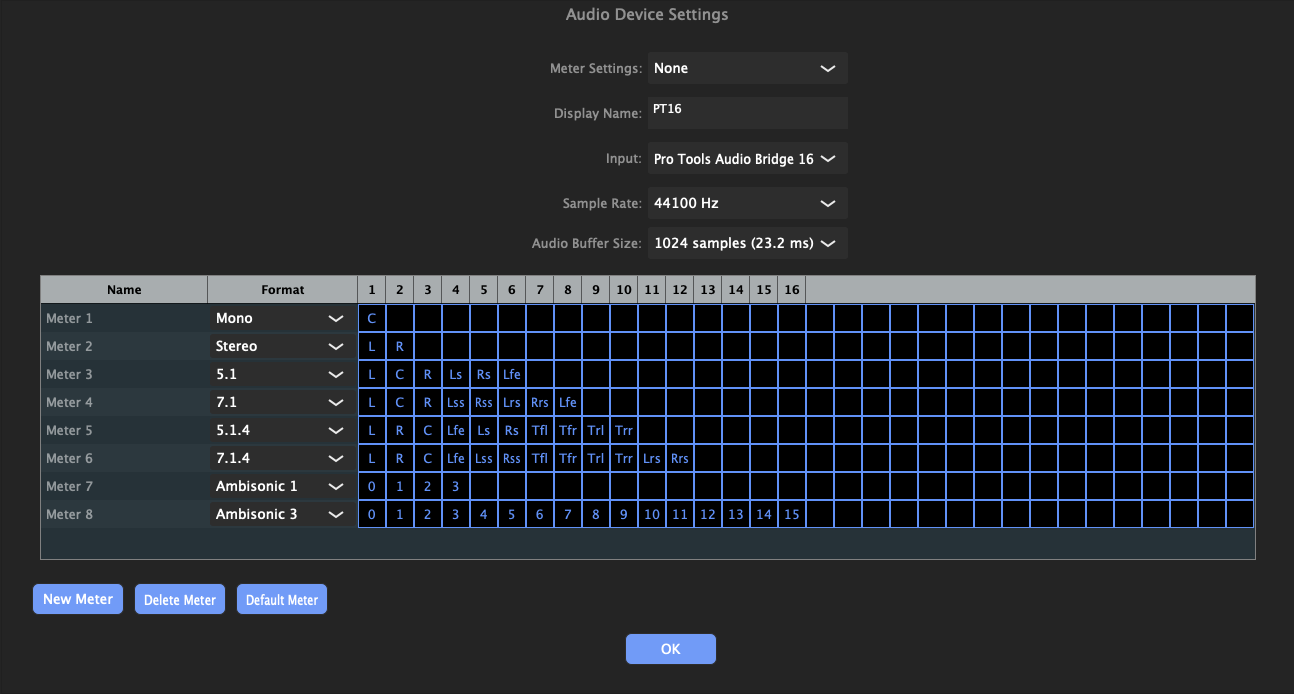
In the Massive Meter Bridge, you can open the Audio Device Settings under the Settings menu or use the keyboard shortcut command-shift-A.
The Audio Device Settings allow you open previously created settings, create and save new settings, and change options such as the Display Name, which audio input is used, the sample rate, and audio buffer size.
Creating meters and mapping the channels to inputs is very similar to other Digital Audio Workstations such as Pro Tools.
Click on the New Meter button to create a new meter. Select a channel format such as mono, stereo, or 5.1. Then click and drag the meter channel names and move to the input they should be associated with.

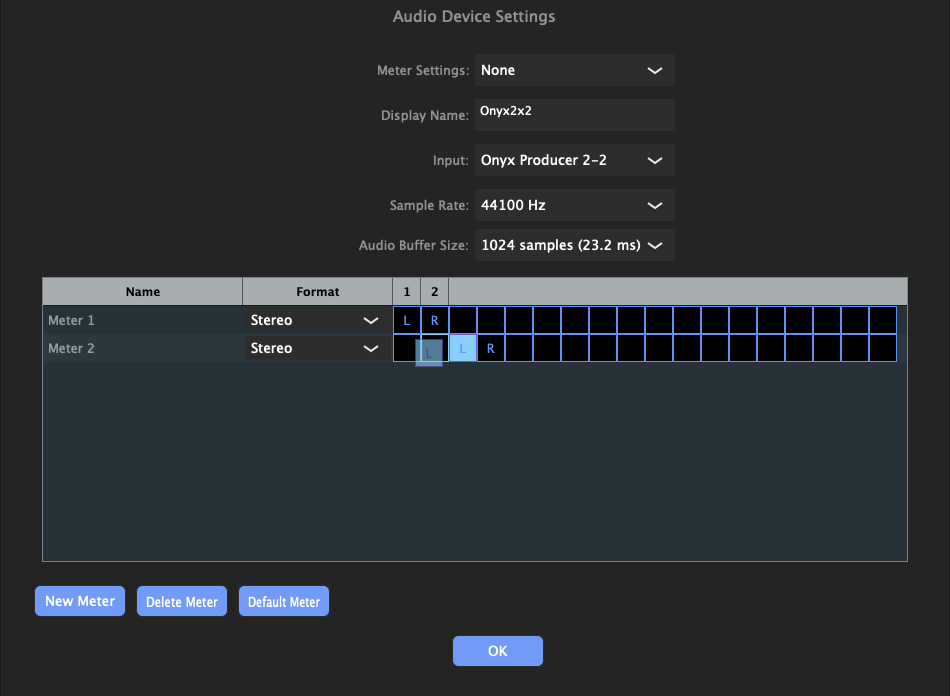
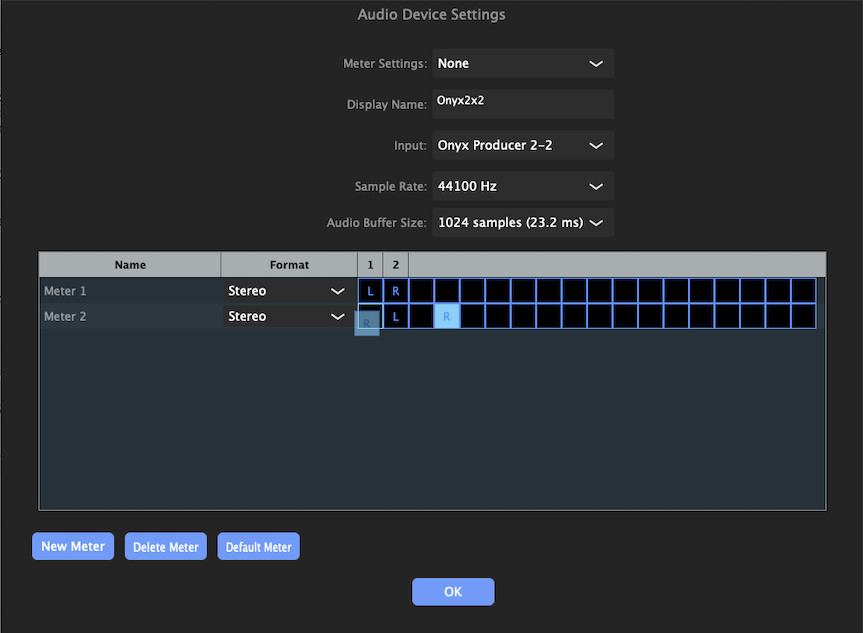
To assign multiple channels at the same time, holding the shift key while clicking on the channel indicator will select and highlight the individual channel indicator. Repeat this for other channel indicators to select a group.
Drag the selected channel indicators as a group to assign them to the desired inputs.


When you drag a channel indicator or a group of channel indicators, you will notice that the square that the indicators will drop to will be outlined in blue to show where the channel indicators will be assigned when dropped.


